Aquadyne Spider Gasket Removal: What Pros Don’t Tell You
November 05, 2025
Ever wondered why your filter starts leaking or losing pressure out of nowhere? The culprit is often a tiny but mighty part of the Aquadyne spider gasket. When it wears out, your entire filtration system feels the impact. But here’s the good news: mastering Aquadyne spider gasket removal isn’t as complicated as it sounds if you know the trick professionals rely on.
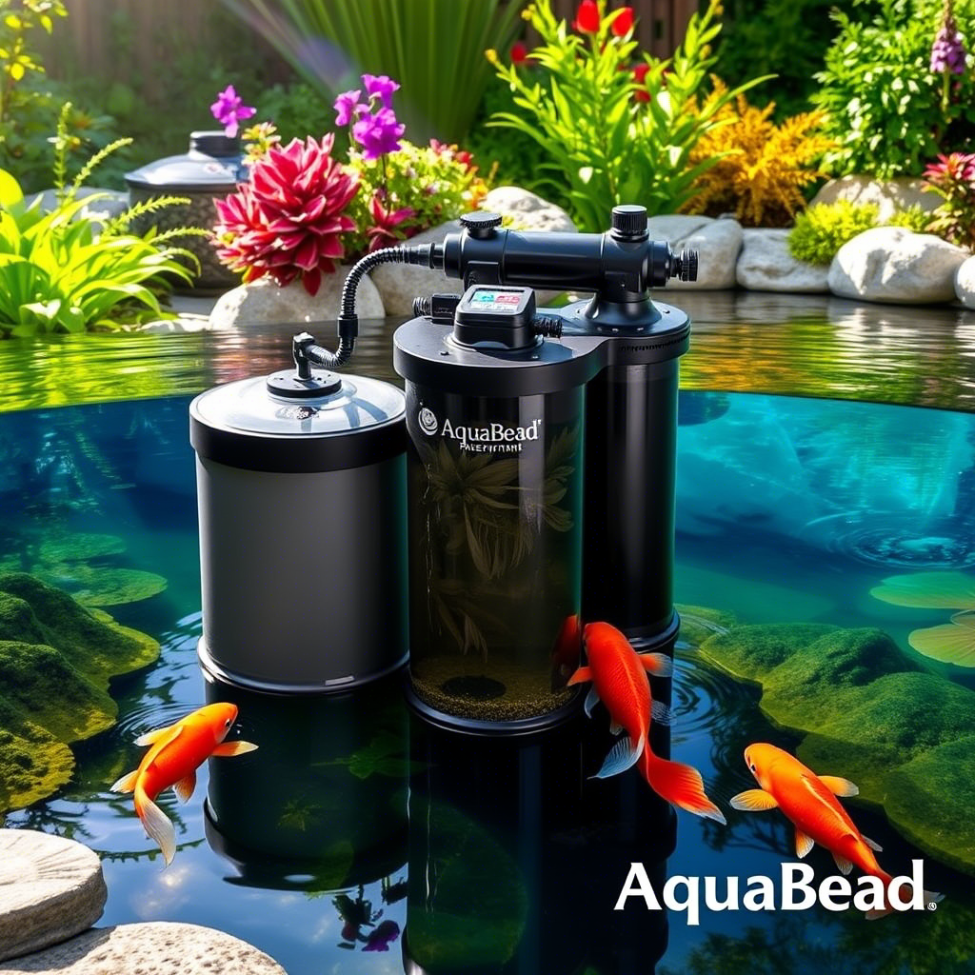
At AquaBead, pond owners trust our genuine Aquadyne parts for durability, precision, and performance. Follow this guide to learn the safest way to remove and replace your spider gasket without damaging your filter, keeping your pond running at its best.
Why the Spider Gasket Matters?
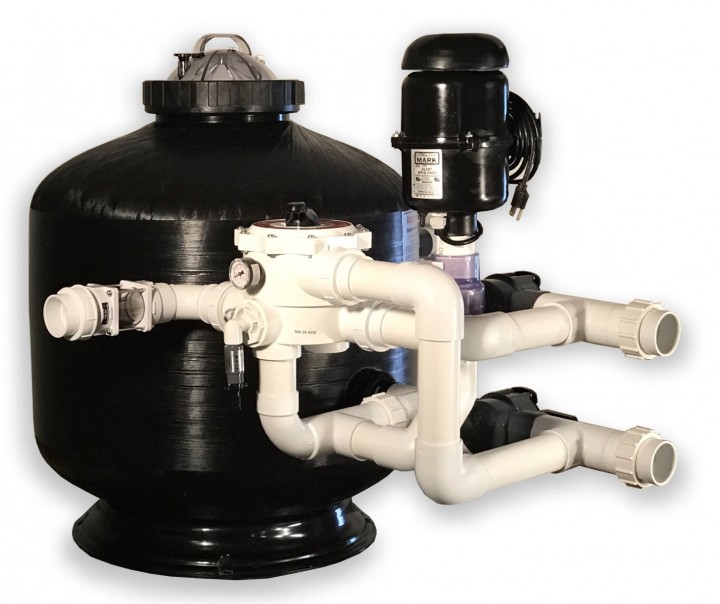
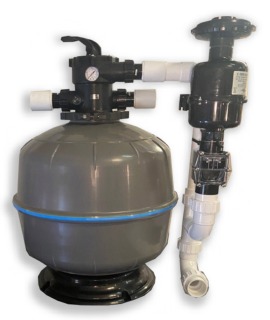
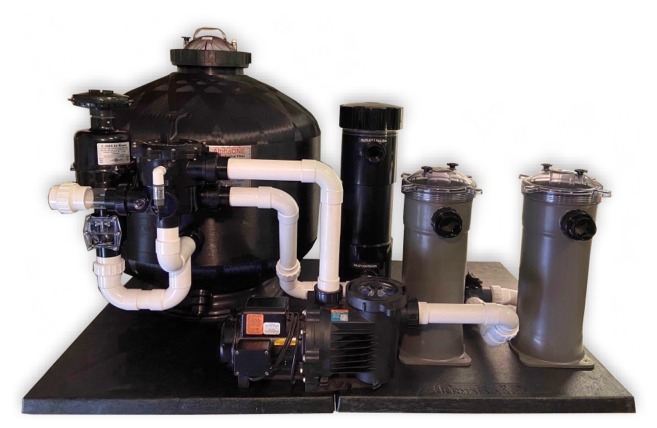
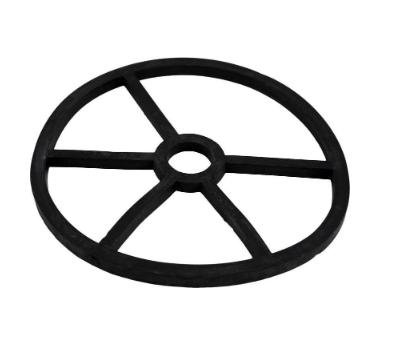
Inside your pond filter’s multiport valve, the spider gasket acts like a seal between different water pathways. It keeps water from mixing between “Filter,” “Rinse,” and “Backwash” modes. Over time, chlorine, sunlight, and water pressure wear it down, causing the gasket to crack or flatten.
When that happens, you may see water leaking between valve positions or reduced suction. Ignoring it can lead to more serious filter issues. That’s why knowing how to remove and replace this part correctly can save both your system and your sanity.
Get Ready: What You’ll Need
Before you begin, gather a few simple tools and materials:
- Flathead screwdriver or a plastic scraper
- Silicone-based lubricant (never petroleum-based)
- Replacement Aquadyne spider gasket
- Soft brush and clean cloth
These help you work gently and prevent damage to the delicate valve grooves.
Step-by-Step Guide to Removing the Old Gasket
Start by switching off the pond pump and releasing all built-up pressure in the system. Remove the multiport valve cover to expose the gasket. You’ll find it snugly fitted into a circular groove.
The secret to replace spider gasket smoothly lies in softening the gasket before pulling it out. Soak a cloth in warm water and rest it over the gasket for a few minutes. This helps loosen any adhesive and makes the rubber more pliable.
Once softened, use your scraper or screwdriver to lift one edge carefully. Work your way around in small increments rather than pulling the gasket out all at once while changing spider gasket. Avoid metal tools if possible; they can scratch or deform the groove, leading to leaks later.
After removing the gasket, clean the groove thoroughly. Even small bits of old rubber or adhesive can prevent your new gasket from sealing correctly. Use a soft brush and cloth to clear every trace.
Installing the New Gasket
Now it’s time for the replacement. Apply a thin, even coat of silicone lubricant around the groove; this helps the new gasket fit snugly and reduces friction. Press the new Aquadyne spider gasket into the groove, ensuring it sits flat and even.
Avoid stretching or twisting it during installation. Once done, let it rest for 20–30 minutes so the lubricant settles in. After that, put the valve back together and run a brief backwash cycle to make sure everything is perfectly sealed.
Pro Hacks for Long-Lasting Results
Even a perfect installation can lose efficiency if maintenance is neglected. Here are some pro tips to make your gasket last longer:
- Lubricate regularly: A light coat of silicone every few months prevents cracking and makes future removal easier.
- Never turn the valve while the pump is on: This simple mistake is one of the biggest causes of warped gaskets.
- Protect from heat: Store spare gaskets in a cool, dry place to maintain elasticity.
Following these small hacks ensures your gasket performs efficiently and prevents early wear.
When to Ask for Professional Help
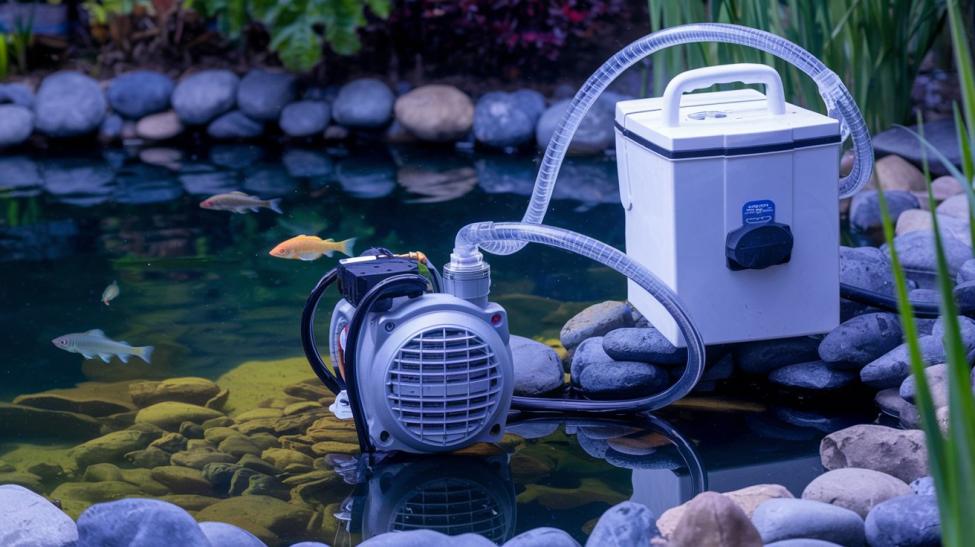
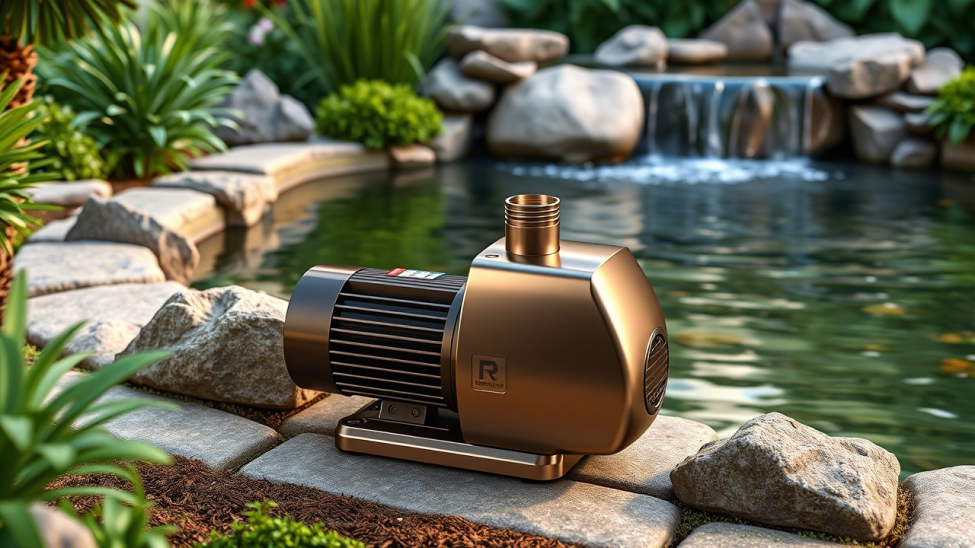
If you’re dealing with multiple leaks, uneven pressure, or resistance when turning the valve handle, it’s best not to force it. These signs may point to internal valve damage or a misaligned gasket. That’s where AquaBead’s exceptional quality pond pump, spider gaskets, and parts come in. They offer reliable support, authentic replacement parts, and practical advice to ensure your filter runs smoothly.

Handle with Care for Lasting Performance
The right tools, patience, and accuracy are the keys to easy Aquadyne spider gasket removal. With a few careful steps, hacks, and tricks, you can restore your filter’s efficiency and prevent long-term damage.
Whether you’re doing it yourself or want an expert to take a look, contact AquaBead today to get high-quality parts and trusted repair guidance for your filtration system.
FAQs
How do I know my spider gasket needs replacing?
If water leaks between valve settings or your filter pressure drops unexpectedly, the gasket is likely worn out.
Can I use any spider gasket for my valve?
No, not any spider gasket is useful! Always use a genuine Aquadyne spider gasket to ensure proper fit and long-term dependability.
What kind of lubricant should I use during installation?
Use a silicone-based lubricant. Petroleum products can damage the rubber material.
How often should I replace the spider gasket?
Generally, every 2–3 years depending on system use and water quality.
Can I repair a cracked gasket instead of replacing it?
Repairs are temporary and rarely effective. Replacement is the best long-term solution.
Where can I buy authentic Aquadyne spider gaskets?
You can find genuine replacement parts directly on AquaBead’s website for the best fit and performance.